Dot Torture Made Simple: a Beginner’s Guide
Dot Torture is one of the best tools for beginners, experts, and everything in between. Dot Torture isn’t one drill; rather, it’s several packaged into one simple target designed to give you a total shooting workout with 50 rounds of ammo. You don’t need much to shoot Dot Torture, but you can get a lot out of it.
Dot Torture is Simple but not Easy
by Travis Pike
David Blinder created Dot Torture. It is an excellent training drill and has since evolved into several variants. I’ve seen DA/SA variants of Dot Torture, rifle variants, and revolver variants. Today we are going to tackle the O.G. Dot Torture drill, which can be used with practically any handgun/
Dot Torture: Supplies
We obviously need a gun, specifically a semi-automatic pistol. You’ll need 50 rounds of ammo, which is very convenient because ammo is sold in 50-round boxes. We’ll also need a holster, any holster. If you carry concealed, it makes sense to carry concealed; if you carry in a duty-style rig, then use that rig. Make your training match your needs. I’ll be using the Ruger RXM↗ in a Safariland holster.↗

The Dot Torture Drill doesn’t require much range gear!
We need a spare magazine and a magazine pouch↗. Don’t forget your eyes and ears, and I’d bring a shot timer and a notebook. None of the drills on Dot Torture are timed, but I prefer to use a shot timer to record my times in a notebook and to track my skills. You might also consider a good range day training app on your phone or tablet. Dot Torture is also a target. You can buy them, but they’re also available online and free to print. Just order them or print them.
The Point of Dot Torture
The Dot Torture target is made up of ten two-inch dots. Each dot is numbered and goes from 1 to 10. There are a total of seven drills, with three drills using two dots per drill. Beneath each dot sits your drill for that dot. A two-inch dot is an extremely small target. Stand back ten yards and hover your sights over it. That thing is tiny!

This target won’t stay clean long, but hopefully all the holes go in the right circles.
Dot Torture doesn’t have time or distance requirements. As the shooter, you get to establish the range you want to shoot with the goal of shooting it “clean.” Clean means no misses. Most shooters should start at three yards and shoot as fast as they can while still making hits. I’m a pedal-to-the-metal fan. I shoot fast and try to get my accuracy to keep up with my speed. You do it the way that delivers the best training to you. If you can shoot it clean, back up to five yards and try it again, or if you brought a notebook and shot timer, try and shoot it faster. Further and faster is always the goal.
Shooting the Dots
Dot 1
Dot 1 keeps things super simple. Draw and fire five shots slowly. Make these shots count and put them in the tiny little dot.
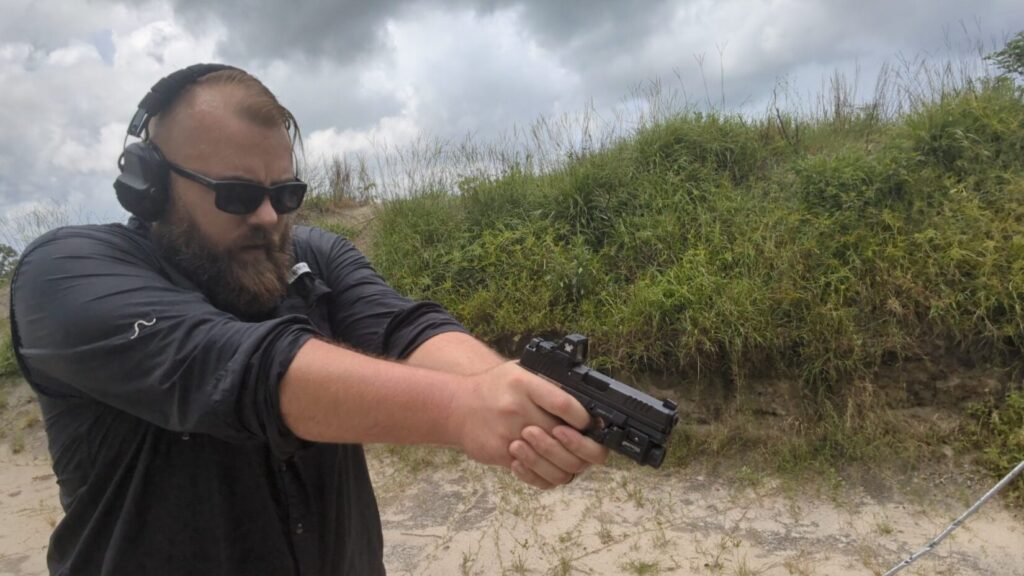
Five slow shots should make one ragged hole.
Dot 2
Draw and fire one shot. Repeat this drill until you’ve fired a total of five shots. If it’s me, I’m drawing fast, focusing on my presentation, and taking my time to make the shots. Still, rush the movements as much as you can without messing up your presentation.

A little draw repetition never hurt anyone. Neither did a lot of draw repetition.
Dots 3 and 4
This drill will use both dots. Draw and fire one shot on each dot. You’ll repeat this four times. I see this as more of a controlled pair than a target transition. I shoot, recover from recoil while steering the gun to the next dot. Don’t shoot, recover completely, and then transition; that’s slow!
Dot 5
Draw and fire five shots with just your strong hand. One-handed manipulations are my absolute bane. Still, we must persevere. Draw, and take those five shots as fast as you can without missing.

Shooting one-handed always sucks, but you gotta do it sometimes.
Dots 6 and 7
Alright, back to two dots. Holster, draw, and fire two shots on six and two shots on seven. Now we have what’s basically hammer pairs and on two targets. This becomes tricky; just remember to transition as soon as the second shot on six is fired.
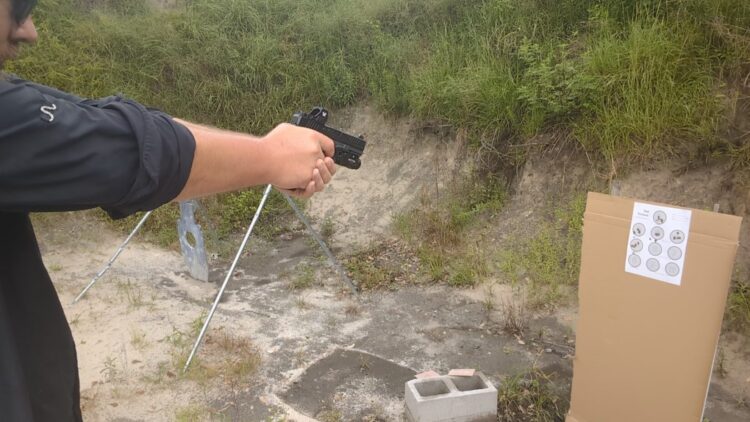
Get it drawn and “double tap.”
Dot 8
We are starting with the gun in the ready position, but in our weak hand. We are going to shoot five rounds with our weak hand only. This is the most difficult stage of Dot Torture, in my opinion. It’s something I’m slow at and find myself struggling with.
Dots 9 and 10
We are going to finish strong. Before we start, make sure the magazine in your gun is empty with one round in the chamber. Have your spare magazine loaded with one round. You will draw and fire a shot on dot 9, conduct a speed reload, and fire one on dot 10. Speed up the reload, but make the shots. I’d take advantage of the reload and take my time with the shots.
Unload: Show Clear
That’s it. That’s Dot Torture. It’s quick, easy, and something you can do in a short session. One box of ammo, a gun, a holster, a spare mag, and a good attitude are all you need to get a diverse training experience.

I had a rough day. I shot from just five yards and clearly shoot low on the draw. At least I know I can fix it!
It’s not that high-speed, but it’s a functional test that allows you to work a variety of different skills. It’s great for diagnosing strengths and weaknesses and figuring out what you need to work on. Outside of live fire, I always advise doing a dry fire run before and after shooting Dot Torture to get that much more training out of your range time.
Check it out and give it a spin. Go as fast as you safely can, and as always, record your performance.
Dot Torture is one of the best tools for beginners, experts, and everything in between. Dot Torture isn’t one drill; rather, it’s several packaged into one simple target designed to give you a total shooting workout with 50 rounds of ammo. You don’t need much to shoot Dot Torture, but you can get a lot out of it.
Dot Torture is Simple but not Easy
by Travis Pike
David Blinder created Dot Torture. It is an excellent training drill and has since evolved into several variants. I’ve seen DA/SA variants of Dot Torture, rifle variants, and revolver variants. Today we are going to tackle the O.G. Dot Torture drill, which can be used with practically any handgun/
Dot Torture: Supplies
We obviously need a gun, specifically a semi-automatic pistol. You’ll need 50 rounds of ammo, which is very convenient because ammo is sold in 50-round boxes. We’ll also need a holster, any holster. If you carry concealed, it makes sense to carry concealed; if you carry in a duty-style rig, then use that rig. Make your training match your needs. I’ll be using the Ruger RXM↗ in a Safariland holster.↗
The Dot Torture Drill doesn’t require much range gear!
We need a spare magazine and a magazine pouch↗. Don’t forget your eyes and ears, and I’d bring a shot timer and a notebook. None of the drills on Dot Torture are timed, but I prefer to use a shot timer to record my times in a notebook and to track my skills. You might also consider a good range day training app on your phone or tablet. Dot Torture is also a target. You can buy them, but they’re also available online and free to print. Just order them or print them.
The Point of Dot Torture
The Dot Torture target is made up of ten two-inch dots. Each dot is numbered and goes from 1 to 10. There are a total of seven drills, with three drills using two dots per drill. Beneath each dot sits your drill for that dot. A two-inch dot is an extremely small target. Stand back ten yards and hover your sights over it. That thing is tiny!
This target won’t stay clean long, but hopefully all the holes go in the right circles.
Dot Torture doesn’t have time or distance requirements. As the shooter, you get to establish the range you want to shoot with the goal of shooting it “clean.” Clean means no misses. Most shooters should start at three yards and shoot as fast as they can while still making hits. I’m a pedal-to-the-metal fan. I shoot fast and try to get my accuracy to keep up with my speed. You do it the way that delivers the best training to you. If you can shoot it clean, back up to five yards and try it again, or if you brought a notebook and shot timer, try and shoot it faster. Further and faster is always the goal.
Shooting the Dots
Dot 1
Dot 1 keeps things super simple. Draw and fire five shots slowly. Make these shots count and put them in the tiny little dot.
Five slow shots should make one ragged hole.
Dot 2
Draw and fire one shot. Repeat this drill until you’ve fired a total of five shots. If it’s me, I’m drawing fast, focusing on my presentation, and taking my time to make the shots. Still, rush the movements as much as you can without messing up your presentation.
A little draw repetition never hurt anyone. Neither did a lot of draw repetition.
Dots 3 and 4
This drill will use both dots. Draw and fire one shot on each dot. You’ll repeat this four times. I see this as more of a controlled pair than a target transition. I shoot, recover from recoil while steering the gun to the next dot. Don’t shoot, recover completely, and then transition; that’s slow!
Dot 5
Draw and fire five shots with just your strong hand. One-handed manipulations are my absolute bane. Still, we must persevere. Draw, and take those five shots as fast as you can without missing.
Shooting one-handed always sucks, but you gotta do it sometimes.
Dots 6 and 7
Alright, back to two dots. Holster, draw, and fire two shots on six and two shots on seven. Now we have what’s basically hammer pairs and on two targets. This becomes tricky; just remember to transition as soon as the second shot on six is fired.
Get it drawn and “double tap.”
Dot 8
We are starting with the gun in the ready position, but in our weak hand. We are going to shoot five rounds with our weak hand only. This is the most difficult stage of Dot Torture, in my opinion. It’s something I’m slow at and find myself struggling with.
Dots 9 and 10
We are going to finish strong. Before we start, make sure the magazine in your gun is empty with one round in the chamber. Have your spare magazine loaded with one round. You will draw and fire a shot on dot 9, conduct a speed reload, and fire one on dot 10. Speed up the reload, but make the shots. I’d take advantage of the reload and take my time with the shots.
Unload: Show Clear
That’s it. That’s Dot Torture. It’s quick, easy, and something you can do in a short session. One box of ammo, a gun, a holster, a spare mag, and a good attitude are all you need to get a diverse training experience.
I had a rough day. I shot from just five yards and clearly shoot low on the draw. At least I know I can fix it!
It’s not that high-speed, but it’s a functional test that allows you to work a variety of different skills. It’s great for diagnosing strengths and weaknesses and figuring out what you need to work on. Outside of live fire, I always advise doing a dry fire run before and after shooting Dot Torture to get that much more training out of your range time.
Check it out and give it a spin. Go as fast as you safely can, and as always, record your performance.
The post Dot Torture Made Simple: a Beginner’s Guide appeared first on AR15NEWS.COM.